Home Window Tinting: Benefits, Types & Costs
Introduction to Home Window Tinting
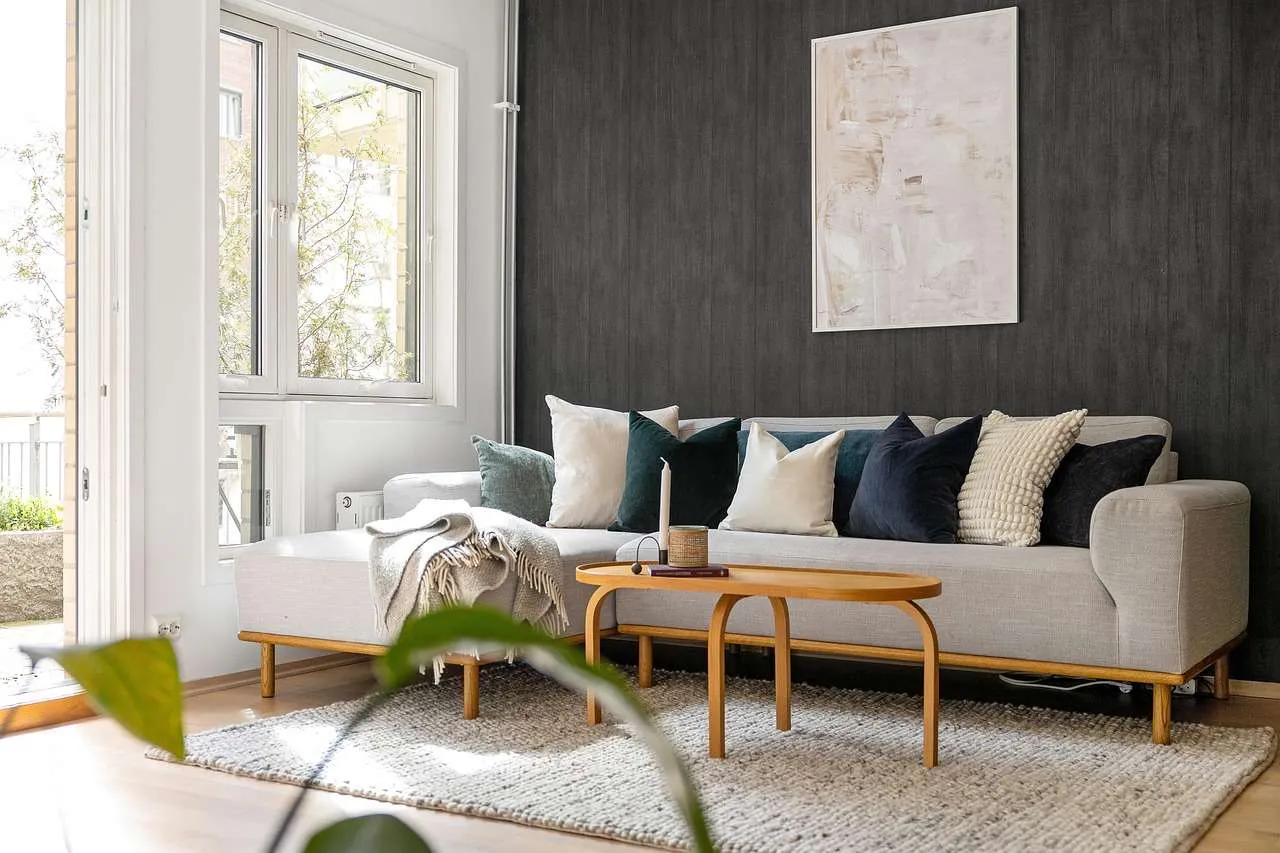
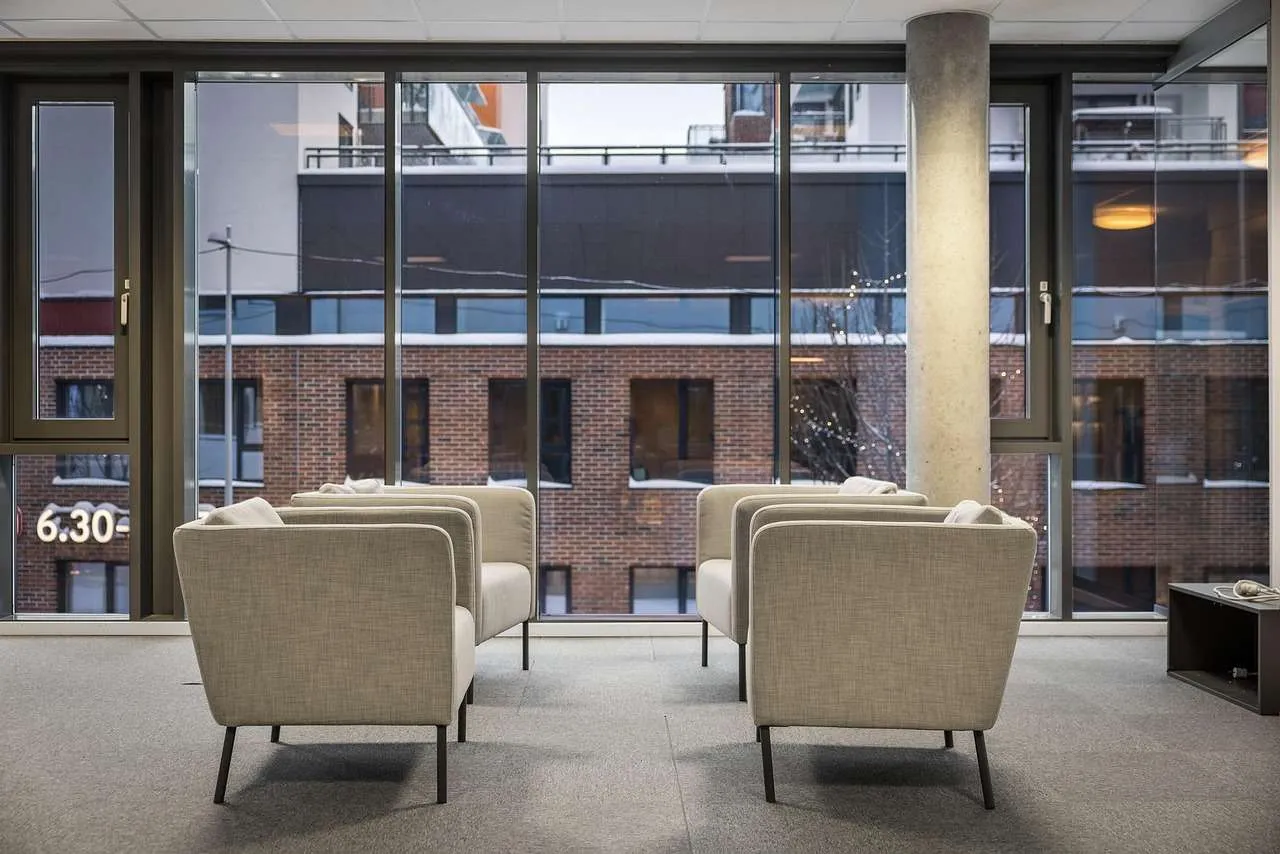
Home window tinting refers to applying a thin film to interior or exterior glass surfaces to reduce heat, glare, and UV exposure while preserving visibility. When done by a professional installer using high-quality films, it can enhance comfort, protect furnishings, and improve energy efficiency. This article covers what to know before you tint, the main film types, installation considerations, costs, and how to choose the right option for your home.
What Is Home Window Tinting?
At its core, home window tinting uses a window film engineered to block a portion of solar energy. The film can reject infrared heat, block ultraviolet rays, and reduce glare without significantly darkening interiors. Properly chosen and installed film allows you to enjoy natural light while maintaining privacy and protecting interior finishes from fading.
Types of Window Films for Homes
Dye-Based Films
Dye-based films absorb UV and heat but can fade over time in strong sun and may be less durable than other options. They are usually cost-effective and improve interior comfort, though longevity varies by climate and sun exposure.
Metalized Films
Metalized films reflect a portion of solar energy and can add strength to the glass. They may interfere with electronics and cell phone signals in some installations, so compatibility with contemporary devices should be discussed with the installer.
Ceramic Films
Ceramic or nano-ceramic films offer high heat rejection, excellent clarity, and strong UV protection without metal interference. They are among the most popular choices for homeowners seeking performance and aesthetics.
Hybrid Films
Hybrid films combine ceramic and metal technologies to balance heat rejection, glare control, and multi-area compatibility. They often provide favorable aesthetics with good durability.
Specialty Films
Some films are designed for security, anti-graffiti, or specific tint colors. For heritage homes or architecturally sensitive properties, consult a professional to select a compliant option that preserves the home’s appearance.
Benefits of Home Window Tinting
- Energy efficiency: Reduces cooling loads by blocking a portion of sun heat, which can lower monthly bills.
- UV protection: Blocks up to 99% of harmful ultraviolet rays, protecting skin and furnishings.
- Glare reduction: Improves comfort for screens, reading, and daytime activities.
- Privacy and aesthetics: Increases privacy during the day and adds a uniform, modern look to the home.
- Safety and security: Some films hold glass together if shattered, reducing injury and break-ins.
How to Choose the Right Tint for Your Home
Choosing the right tint involves a few practical considerations. First, review local regulations about visible light transmission (VLT) and reflective levels to avoid compliance issues. Second, evaluate the sun orientation of each room; east-facing windows may benefit from higher heat rejection, while west-facing panes may require stronger glare control. Third, decide on the level of privacy you want during daylight hours and consider the impact on night-time visibility from the outside.
Visible Light Transmission (VLT) and Comfort
VLT describes how much light the film allows into a room. Lower VLT films provide more privacy and shade but can darken interiors significantly. A typical residential range is 35% to 70% VLT, with ceramic films often clustering around 40%–60% for balanced performance and natural color perception.
Shade, Aesthetics, and Interior Lighting
Color and shade of the tint should complement your home's exterior and interior design. Poor color matching can make rooms look unnatural or affect color rendering of artwork and textiles. Ask for a sample panel to evaluate how the tint affects daylight quality before committing.
Local Laws and HOA Guidelines
Some jurisdictions and homeowners associations restrict the degree of tint or reflective finishes. A reputable installer will confirm compliance and help you select compliant film grades while achieving your goals.
Installation Process and Timeline
Professional installation typically involves a site assessment, measurement, film selection, and meticulous surface preparation. Technicians clean glass surfaces to remove dust and oils, apply the film with precision, and trim edges for a clean finish. Curing times vary by film type and climate but most installations are ready for light use within 24 to 48 hours and full cure within a week. Temporary restrictions on high-moisture cleaning and direct water contact may apply during curing.
Maintenance, Longevity, and Warranties
Maintaining tinted windows is straightforward. Use mild, non-ammonia cleaners and soft cloths to avoid scratches. Avoid abrasive pads or strong solvents. Most high-quality films carry warranties of 10 to 15 years against bubbling, peeling, or discoloration, though actual longevity depends on climate, environmental exposure, and proper installation. Routine inspections can catch edge lift or bubbling early, allowing timely repairs.
Costs and Return on Investment
Home window tinting costs depend on film type, number of windows, and installation complexity. Ceramic and high-performance films are typically more expensive upfront but offer greater energy savings and longer warranties. A standard single-family home might see costs ranging from a few hundred to several thousand dollars. ROI is influenced by climate, energy tariffs, and the duration a room is sun-exposed; in hot climates, cooling savings can be substantial over time.
Comparison: Home Window Tinting Options
| Film Type | Heat Rejection | UV Blocking | Light Clarity | Cost | Best For |
|---|---|---|---|---|---|
| Dye-Based | Medium | High | Good | Low | Budget projects |
| Metalized | High | High | Moderate | Medium | Visible energy savings |
| Ceramic | Very High | Very High | Excellent | High | Performance-focused homes |
| Hybrid | High | High | Very good | Medium-High | Balanced needs |
What to Ask Your Window Tint Installer
Before committing, ask about product warranties, film warranty coverage for heat-related failure, edge lift guarantees, and whether removal is included. Request references and verify installation certifications. A transparent installer should provide a written estimate, a sample panel, and a clear explanation of maintenance requirements and curing times.
Getting Started: Next Steps
To begin your home window tinting project, identify rooms with the highest sun exposure, gather some window measurements, and consult with a licensed installer about film options, expected energy savings, and the installation timeline. A well-chosen film can deliver comfort, protection, and value to your home for many years.
Conclusion, choosing the right home window tinting solution hinges on climate, laws, and goals. By understanding film types, energy effects, and the installation process, homeowners can select an option that enhances comfort, protects interiors, and fits their budget. A reputable installer will guide you to a compliant, durable solution that maintains natural light and openness while delivering the benefits described above.